Skip to the content
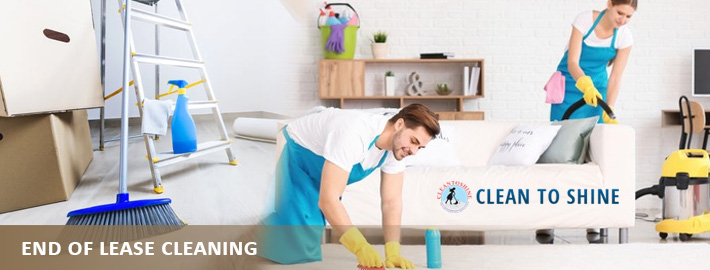
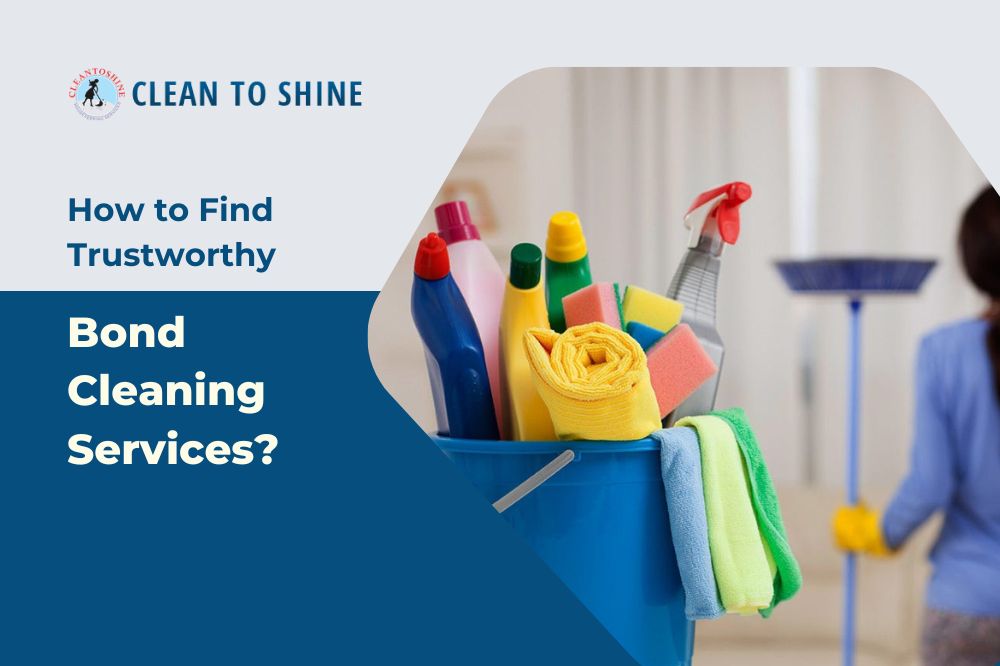
Ultimate Bond Cleaning Checklist to Get Your Full Bond Back
You’ve just moved out of your rental. You did a final sweep, taking out the trash and wiping down surfaces. Now, your mind races as the bond inspection nears. Will you get your full bond back or lose some for supposed cleaning issues? Don’t stress. We’ve created the ultimate bond cleaning checklist so you can tackle every nook and cranny.
just follow our room-by-room guide, and you’ll have the place sparkling. With these pro tips, you can ensure a smooth bond inspection and score your full bond refund. So grab your mop, and let’s get cleaning!
Why a Bond Cleaning Checklist Is Essential?
A bond cleaning checklist is imperative to ensure you recover your full rental bond. Without one, it’s easy to miss key areas or not clean thoroughly enough. Your landlord or property manager will scrutinise the property when you move out, and if they find any dirt or damage, they can deduct money from your bond to pay for cleaning or repairs.
Covers All Areas
A good bond cleaning checklist will list all the areas in each room that need to be cleaned. This includes not just the obvious spots like floors, countertops, and appliances but also baseboards, ceiling fans, light fixtures, window sills, and door frames. It’s the little details that are easy to overlook without a checklist.
Specifies the Level of Clean Required
Bond cleaning requires an extremely thorough cleaning to meet the standards for a new tenant moving in. A checklist will specify exactly what’s expected, like wiping down all cabinets and drawers inside and out, cleaning behind and under appliances, vacuuming under furniture, and scrubbing down showers and tubs. Without this level of guidance, you may think a quick wipe-down will suffice when a deep scrub is really needed.
Provides a Systematic Approach
Following a checklist helps ensure cleaning is done systematically so no area is missed. You can start at one end of a room and work your way around in an orderly fashion. A checklist also makes the cleaning task feel more manageable by breaking it down into specific steps. You can check off each item as you complete it so you have a visual record of your progress and can see the remaining work left to be done.
Gives You Confidence
Knowing you followed a comprehensive bond cleaning checklist gives you confidence when you do your final walk-through and hand the keys back to your landlord or property manager. Without that checklist, you may feel a nagging worry you forgot some little thing that could potentially jeopardise part of your bond refund. A detailed checklist provides reassurance you covered everything thoroughly.
So, take the time to find a bond cleaning checklist tailored to your specific rental property. It will serve as your guide to getting that full bond back when you move out. A systematic and extremely thorough clean is well worth the effort!
Living Room Bond Cleaning Tips
When it comes to moving out of a rented property, ensuring that the living room is spotless is crucial for getting your bond back. Here are some effective tips to ensure your living room passes the inspection with flying colours:
Declutter First: Begin by removing any unnecessary items, such as old magazines, unused décor, and personal belongings. Decluttering will make the cleaning process easier and more efficient.
Dust and Wipe Surfaces: Dust all surfaces, including shelves, tables, entertainment units, and picture frames. Use a microfiber cloth or a duster to ensure thorough cleaning.
Vacuum Carpets and Rugs: Vacuum the entire carpeted area, focusing on high-traffic areas and underneath furniture. For rugs, shake them outside to remove dust and then vacuum both sides.
Clean Upholstery: Wipe down or vacuum upholstery on sofas and chairs to remove any dirt or debris. Use appropriate cleaning products for stains, following the manufacturer’s instructions.
Polish Furniture: Use furniture polish suitable for the material of your furniture to give it a clean and shiny appearance. Pay attention to any visible scratches or marks.
Clean Light Fixtures and Switches: Dust and wipe down light fixtures, switches, and sockets. Replace any dead light bulbs to ensure all fixtures are in working condition.
Check Walls and Baseboards: Inspect walls for scuff marks, fingerprints, or stains. Clean them using a mild detergent and water solution, and touch up the paint if necessary. Also, wipe down baseboards to remove dust and dirt accumulation.
By following these tips and paying attention to detail, you can ensure that your living room is thoroughly cleaned and ready for inspection, helping you secure the return of your bond.
Kitchen Cleaning – Top Tasks for Bond Refund
A sparkling kitchen is key to getting your full bond back. Focus on these areas to ensure your kitchen is spotless:
Oven and Stovetop
A dirty oven and stovetop are a dead giveaway that the kitchen wasn’t properly cleaned. Scrub the oven, stovetop, burners, knobs, and oven racks until they shine. Use a commercial oven cleaner or a natural solution of baking soda and water. Don’t forget to wipe down the stovetop fan and filter.
Cabinets and Drawers
Empty all cabinets and drawers and wipe them down inside and out. Look for any stuck-on messes and scrub them away. Vacuum out crumbs and wipe cabinet doors and faces. Re-organise items as you put them back.
Countertops and Backsplash
Countertops and the backsplash collect splatters and spills over time. Scrub away any stuck-on messes with an abrasive sponge or scrubber. For tough stains on porous countertops like granite, make a paste from baking soda and water. Wipe down cabinets and fixtures like lighting while you’re cleaning the countertops.
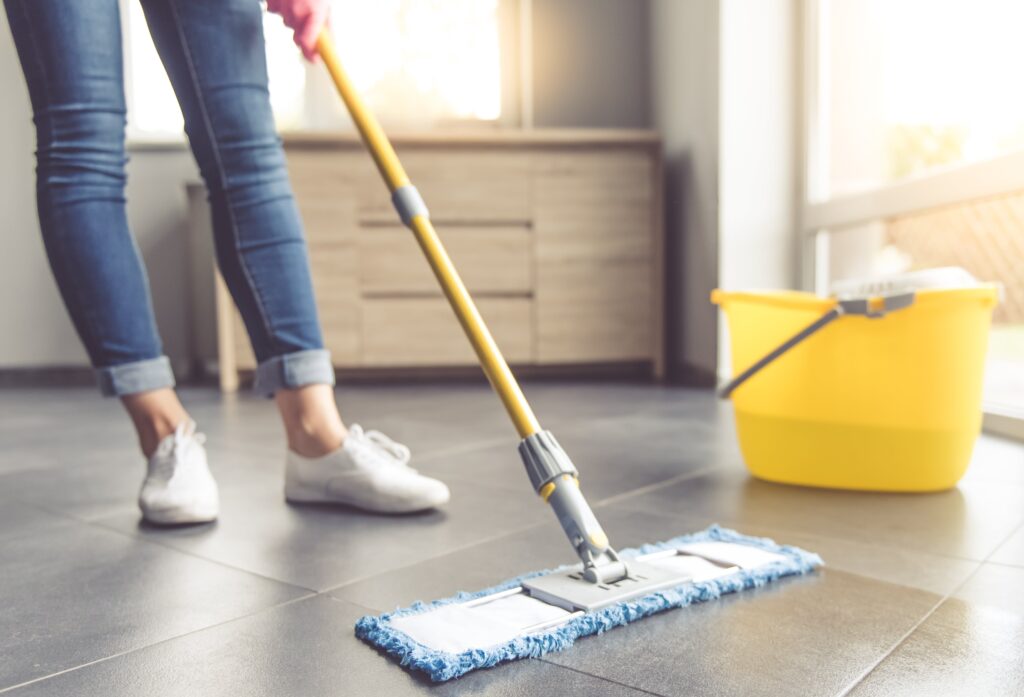
Flooring
Mop or vacuum the entire kitchen floor, moving appliances to clean under them. If you have tile, linoleum, or vinyl flooring, scrub any scuff marks or stuck-on messes before mopping. Sweep and mop in corners and edges where dirt builds up. Clean up any drip marks or splatters on baseboards at the same time.
Appliances
Don’t forget to clean the dishwasher, fridge, microwave, and any other appliances inside and out. Wipe seals and gaskets, empty and wipe down drawers and shelves, and clean up any spills. Pull out the fridge and stove to sweep and mop underneath. Your kitchen should sparkle when you’re done!
Leaving a spotless kitchen will ensure you get your full bond back. Take your time and focus on these key areas so you don’t miss any dirt or grime. Your hard work will pay off!
Bathroom Cleaning – Don’t Forget These Spots!
Cleaning the bathroom can be tough, but don’t forget about some of the hardest spots to reach! When doing a deep cleaning of the bathroom, go the extra mile.
Toilets
Did you scrub the base of the toilet where dirt and grime like to hide? Don’t forget to lift the seat and get the underside, too. Clean the outside of the toilet, including the handle and base. For tough stains in the bowl, use a toilet bowl cleaner and scrubber to make it sparkle.
Sinks
Scrub the sink, faucet, handles, and countertop. Don’t forget the spots where water pools, like the base of the faucet and the edges of the sink. For stuck-on splatters and spots, use an abrasive sponge or scrubber. Make the mirror shine by using glass cleaner and paper towels or a microfiber cloth.
Bathtub and Shower
Tackle soap scum and mildew in the tub, shower, tiles, tracks, and shower door. Use a mould remover or scrubbing bubbles to scrub away tough stains. Don’t forget the shower head, hose, and valve! Rinse everything thoroughly when done scrubbing. For sliding glass shower doors, squeeze off excess water to prevent water spots.
Floor
Mop or scrub the floor, starting from the back of the room and working your way out the door. Move the toilet, hamper, rug, and any furniture to clean underneath and behind. Don’t forget baseboards, vents, radiators, and corners where dust collects.
A deep clean of the bathroom may take some elbow grease, but your sparkling bathroom will be worth it. Double-check behind doors, under sinks, and anywhere else dirt hides. Leave no corner untouched for the best chance of getting your full bond back! Paying close attention to detail will ensure you don’t miss any spots.
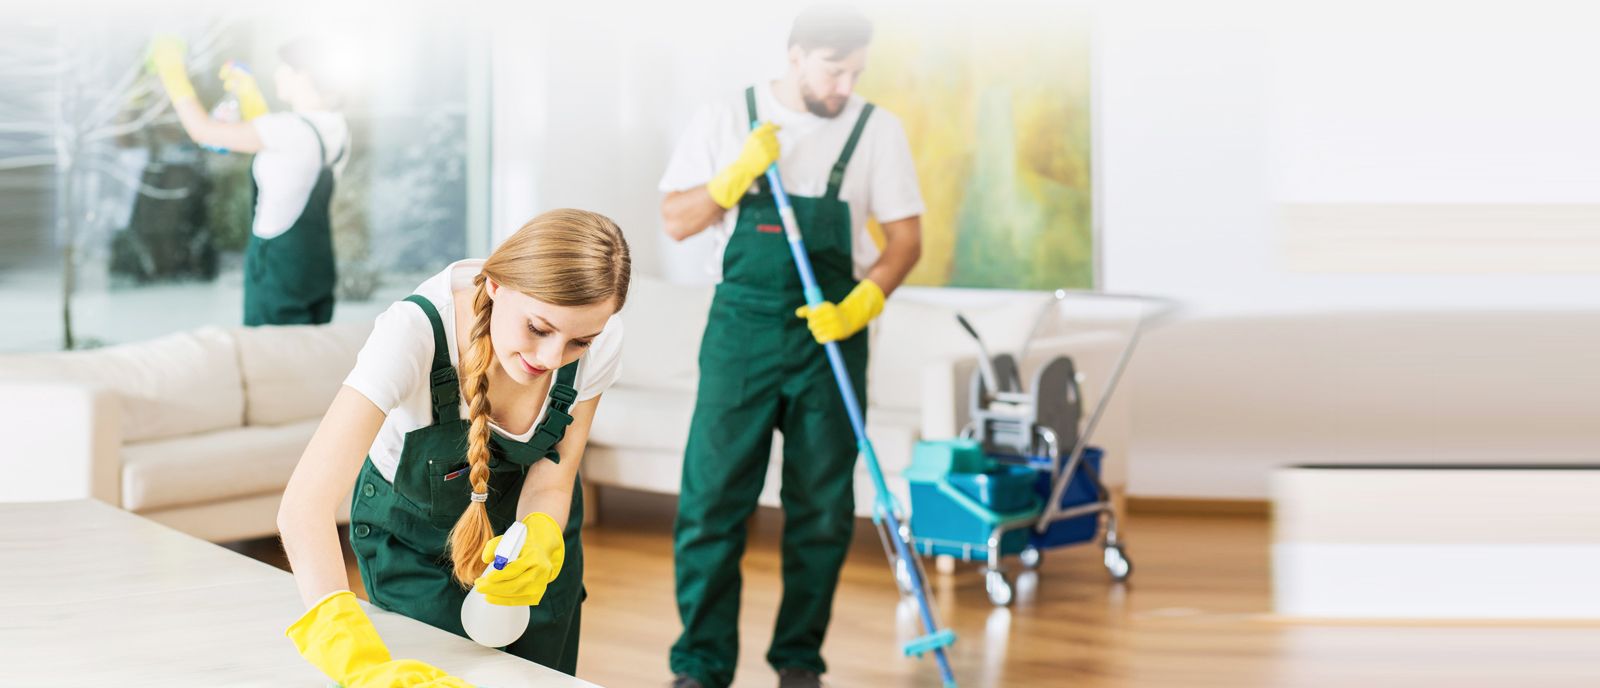
Bond Cleaning FAQs: Your Top Questions Answered
Once you’ve moved out of your rental, you’ll want to get your full bond back. To ensure you don’t lose any money on your bond, you’ll need to do a thorough bond clean. Here are the answers to some of the most frequently asked questions about bond cleaning.
How much does a bond clean cost?
The cost of a bond clean can vary depending on the size of the property and how much needs to be cleaned. You can expect to pay between $200 to $500 for a standard 2-3 bedroom unit. The final price will depend on the number of rooms, bathrooms, and the overall condition of the property. It’s best to get multiple quotes from professional bond cleaning services to compare.
Do I have to be out of the property during the bond clean?
It is not required that you be out of the property during the bond clean, however, it is recommended. Bond cleaning involves the use of strong chemicals and the cleaning team will need full access to all areas of the property. It is best if the property is vacant during the bond clean to avoid any disruptions. The cleaning team can then focus on doing a thorough job without needing to work around the previous tenants.
What will the bond cleaners clean?
A professional bond clean should cover every part of the property. This includes carpets, windows, bathrooms, kitchens, bedrooms, and any outdoor areas. The cleaners will sweep and mop hard floors, vacuum carpets, clean windows, and window tracks, wipe down cabinets and counters, clean appliances and dust surfaces, clean toilets and showers, wipe down doors and baseboards, take out the trash, and more. A good bond clean should leave the property looking spotless.
Do I get my bond back straight away?
Not necessarily. After the bond clean, the real estate agent will need to inspect the property to ensure it meets the required standard. If approved, the bond will then need to be refunded, which can take weeks. The time frame can vary between different real estate agencies and also depends on the availability of the property manager to conduct the final inspection. As long as the professional bond clean was done properly, you should receive your full bond amount back.
What if I don’t get my full bond back?
If your full bond is not refunded, the real estate agent is required to provide a written reason outlining why. This could be due to cleaning that was not done properly or any damage that needs repair. You will have the opportunity to dispute their claim. It is best to take photos and videos before and after the bond cleaning in case you need to provide evidence to support getting your full bond refunded.
Conclusion
So there you have it – the ultimate bond cleaning Melbourne checklist to get your full bond back when moving out. No more stressing about missing a spot or forgetting some key task. Just print out this checklist, grab your supplies, and work your way through each room methodically. Tick each item off as you go and take photos of your sparkling clean rental when you’re done. Then relax, knowing you’ve given the place a proper deep clean from top to bottom. With this checklist guiding you, getting your full bond refunded will be a breeze. Get your full bond refunded hassle-free with Clean To Shine’s thorough cleaning services. Reach out to us right now for a stress-free moving process.