Your Ultimate Step-By-Step End Of Lease Cleaning List
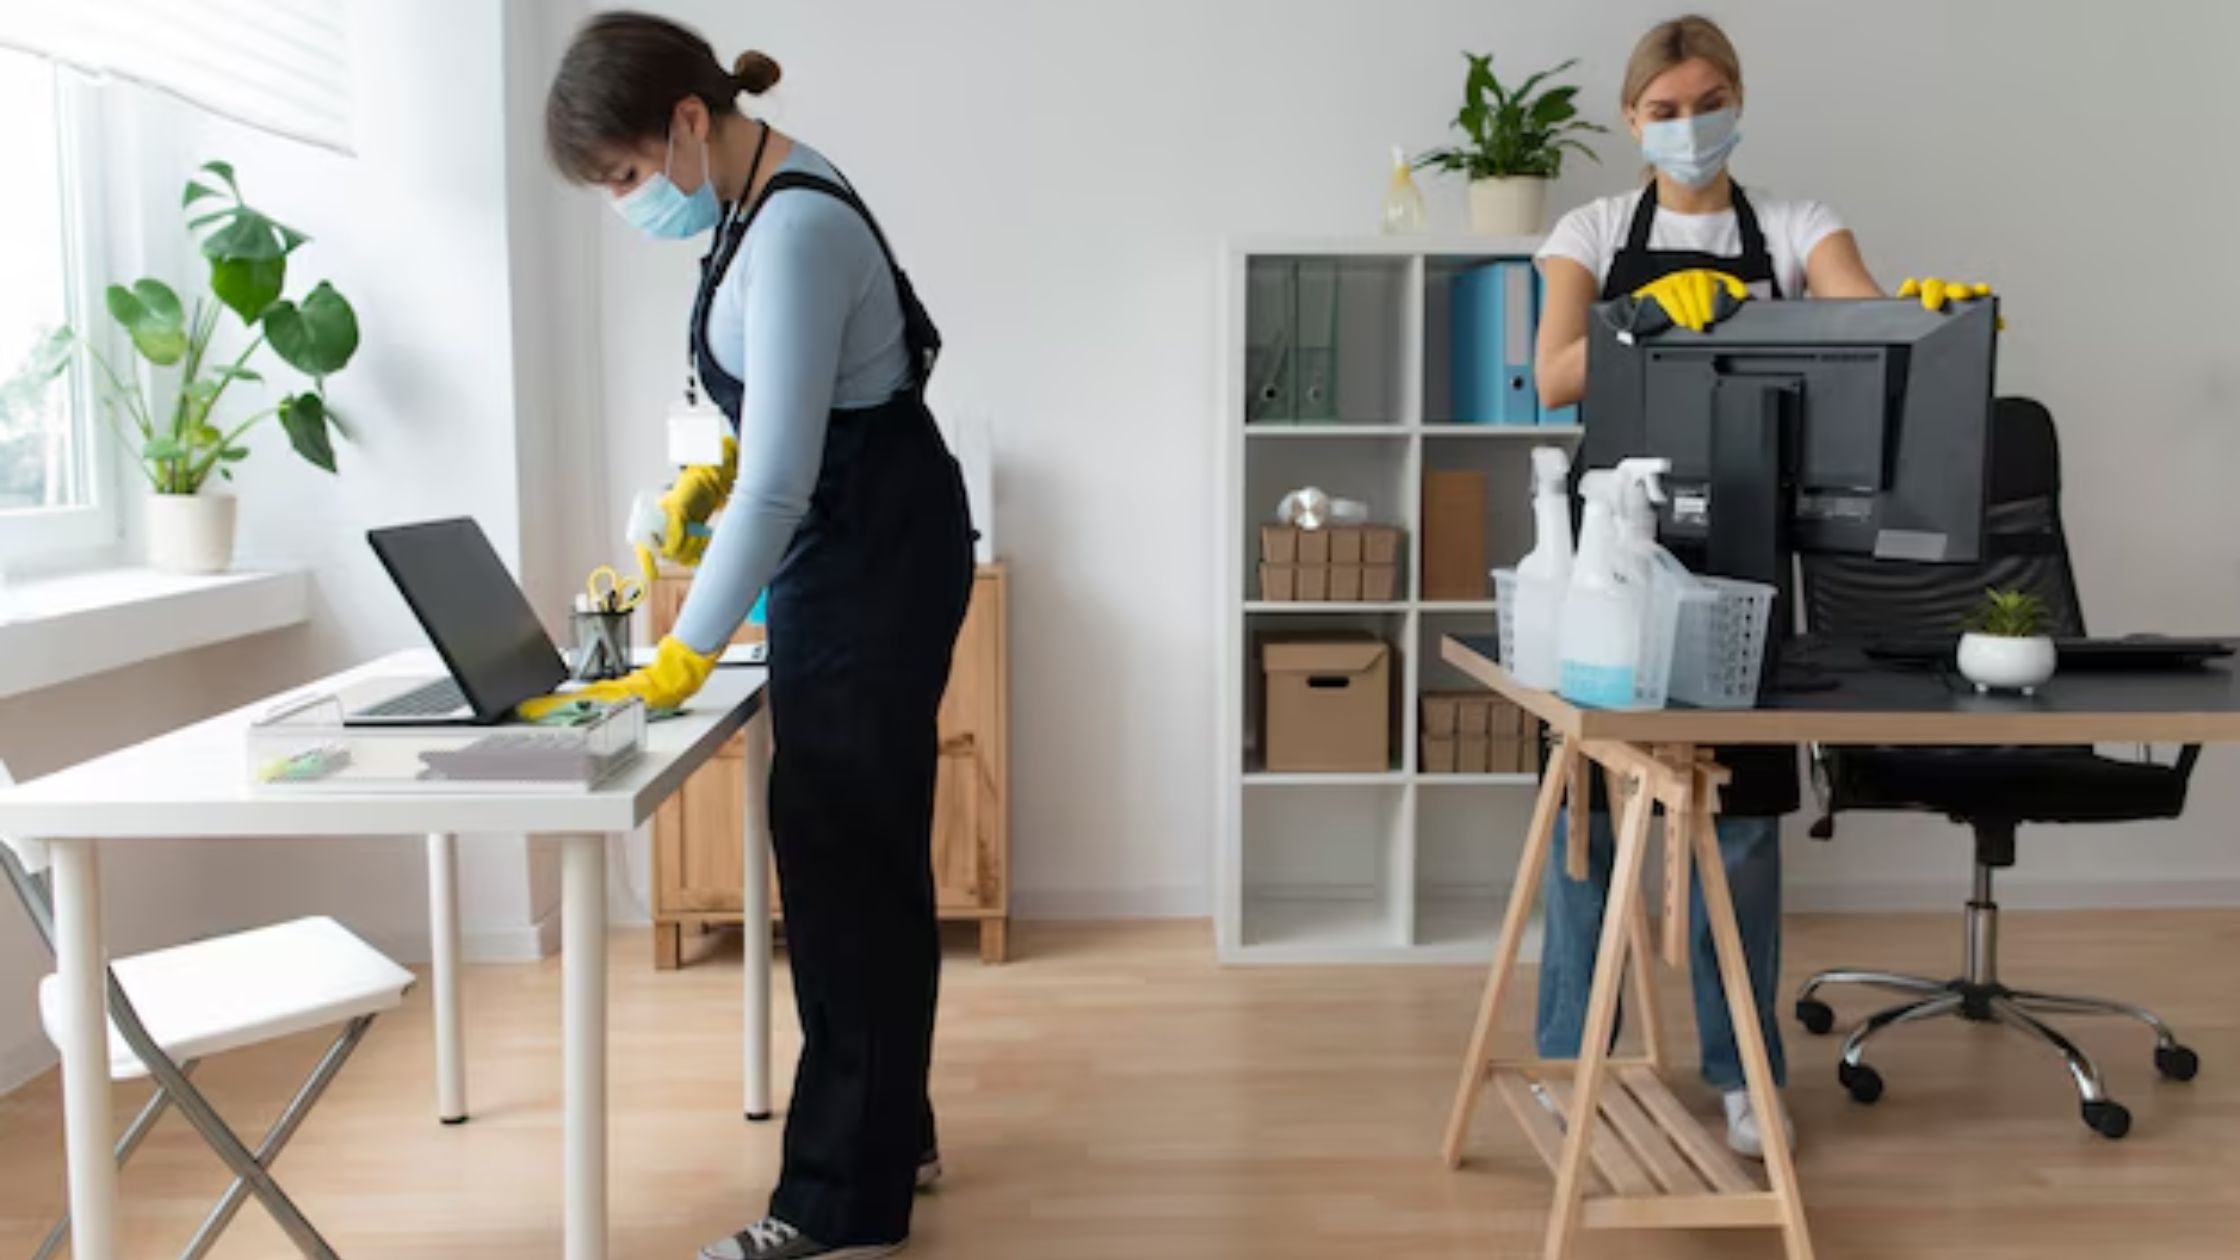
Moving out of a rented property can be both exciting and daunting. While you’re eager to embrace a new chapter in your life, the meticulous process of Best End of Lease Cleaning in Melbourne awaits you. A thorough cleaning is not just a courtesy to the next tenant but also a crucial step in ensuring you get your security deposit back.
Ultimate step-by-step end of lease cleaning list:
Follow this guide, leaving your old home spotless and paving the way for a smooth transition to your new abode.
- Assessment and Planning
Before diving into the cleaning frenzy, walk through your home and assess the areas that require special attention. Note any damages or areas that might need repairs.
This preliminary assessment will help you create a customised cleaning plan, ensuring you cover all the necessary tasks without overlooking anything important.
Create a checklist to keep track of your progress and to stay organised during the entire cleaning process.
- Declutter and Pack
The first step to effective cleaning is decluttering. Remove any unnecessary items, and pack up belongings you won’t need until after you’ve moved.
This not only makes cleaning more accessible but also gives you a head start on the packing process.
Donate, sell, or dispose of items you no longer need – a clutter-free space is not only easier to clean but also more appealing to potential tenants.
- Gather Your Cleaning Supplies
Arming yourself with the right cleaning supplies is crucial for a successful end of lease clean.
Ensure you have all the basics, including an all-purpose cleaner, glass cleaner, disinfectant, scrub brushes, microfiber cloths, mop and bucket, vacuum cleaner, and trash bags.
Check the condition of your supplies to ensure they are in good working order, and replenish any items running low.
- Focus on High-Traffic Areas
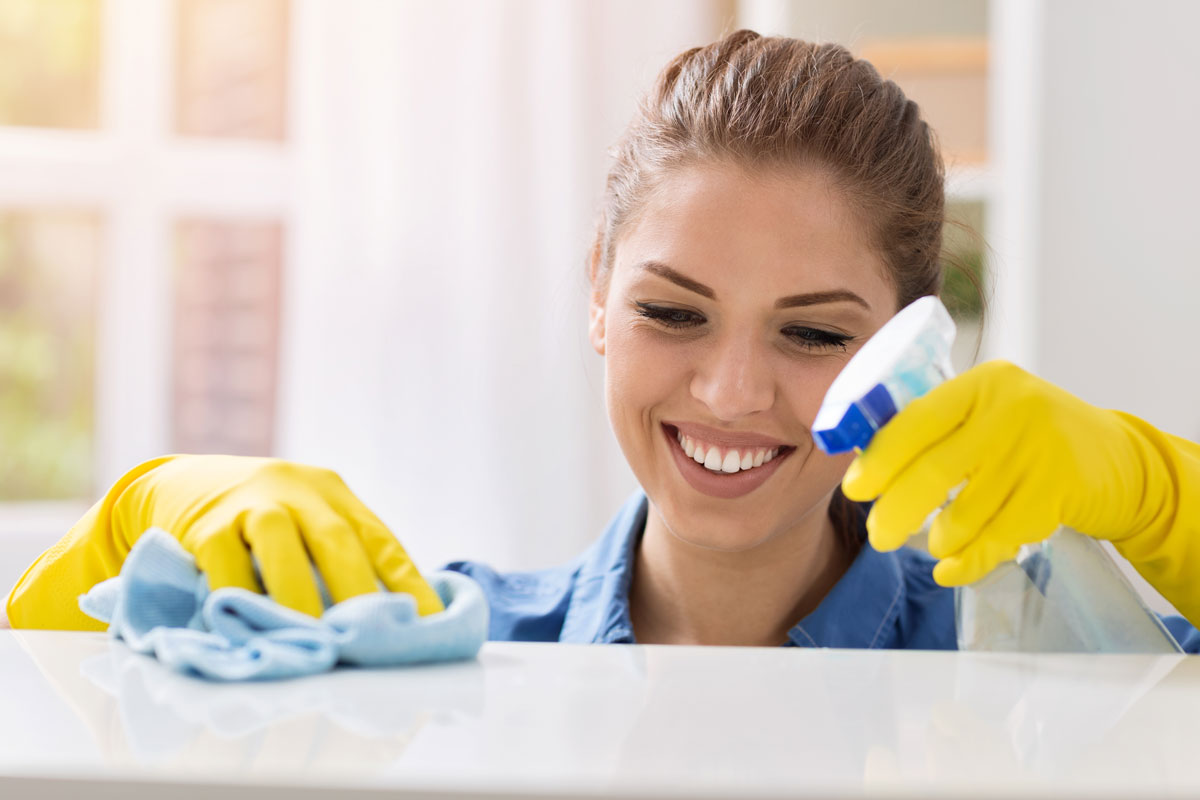
Begin cleaning by focusing on high-traffic areas such as the kitchen and bathrooms. These areas tend to accumulate the most dirt and grime. Start by wiping down all surfaces, including countertops, cabinets, and appliances.
Pay special attention to places around the stove and refrigerator, as these are typical hotspots for spills and stains. Scrub the sink and faucets, and mop the floors.
In the bathroom, clean the shower or bathtub, toilet, and sink thoroughly. Don’t forget to wipe down mirrors and any glass surfaces.
- Clean Walls and Baseboards
Walls and baseboards are often overlooked during regular cleaning but can accumulate dust and grime over time.
Use a damp cloth to wipe down walls, paying attention to scuff marks or stains. For stubborn stains, consider spot cleaning with a mild solution of water and dish soap.
Don’t forget to wash baseboards and trim – a small detail that can make a big difference in the overall cleanliness of the space.
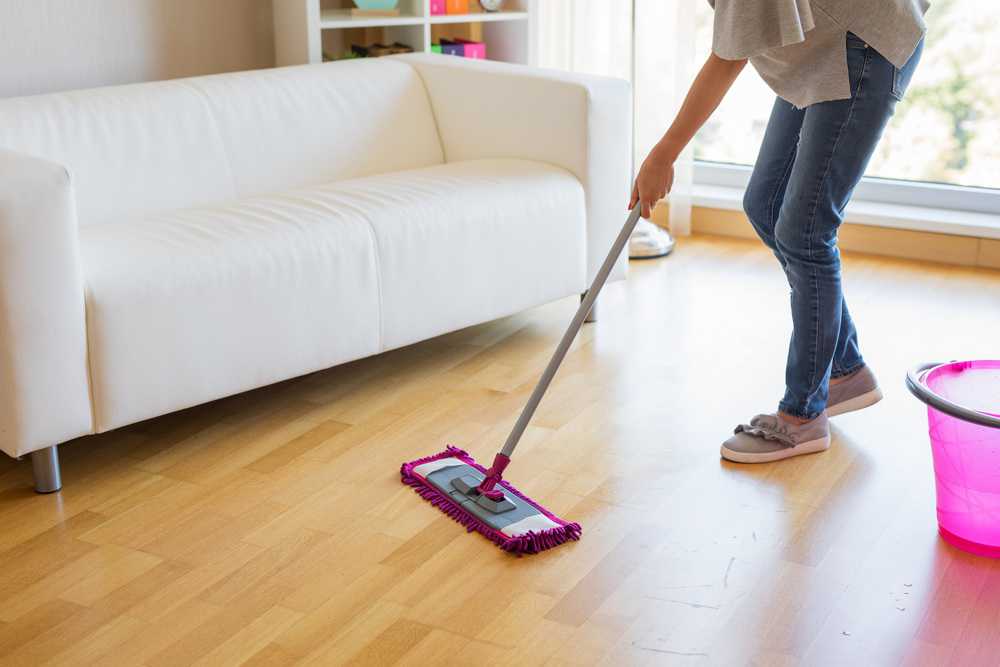
- Tackle Flooring with Precision
Different flooring materials require specific cleaning methods. For carpets, vacuum thoroughly and consider steam cleaning if there are noticeable stains.
Hardwood floors should be swept and mopped with a suitable cleaner. Tile floors may require special attention to grout lines – use a scrub brush and grout cleaner for best results.
Ensure all flooring is free from dirt, dust, and any residues accumulated over time.
- Appliances Inside-Out
When it comes to appliances, the cleaning process goes beyond just the exterior. Clean the inside of the oven, microwave, and refrigerator. Remove and wash shelves, drawers, and trays.
Defrost the freezer if necessary. Empty the dishwasher and run a cleaning cycle.
This extra effort not only leaves appliances looking pristine but also ensures they function correctly for the next tenant.
- Windows and Blinds
Clean windows and blinds can significantly enhance the overall appearance of a space. Wipe down windowsills and frames, and clean both sides of the glass.
For blinds, dust thoroughly and consider using a damp cloth for a more detailed clean. Pay attention to any built-up grime, especially in the kitchen and bathroom.
- Final Touches and Inspection
As you approach the final stages of your best end of lease cleaning in Melbourne, take a moment to do a comprehensive walkthrough.
Check each room to ensure you haven’t missed any spots. Pay attention to details like light switches, doorknobs, and fixtures needing a final polish.
Once satisfied, take some time to inspect your work against the initial assessment you made.
This last inspection will give you the confidence that you’ve covered all necessary tasks and increase the likelihood of a smooth handover.
Final Thoughts
Successful end of lease cleaning is not only about reclaiming your security deposit but also leaving a positive impression on the property manager or landlord.
By following this comprehensive step-by-step cleaning end of lease cleaning list, you can ensure that you’ve covered all the essential tasks, leaving your old home in impeccable condition.
Keep in mind that meticulous attention to detail is crucial, and investing a bit more effort in the cleaning process can greatly contribute to a seamless transition to your new home.
Therefore, consider engaging the services of the appropriate professionals for this task. Clean to Shine stands out as a premier provider of end of lease cleaning services. Our mission is to assist customers in effortlessly reclaiming their bond while ensuring the satisfaction of their agents.