DIY End of Lease Cleaning Guide for a Seamless Transition
Moving out can be hectic, with boxes stacking up and farewells to plan. Amidst this chaos, your end of lease cleaning Sydney task shouldn’t be what holds you back. A proper clean is usually required to secure your deposit refund and hand over your old space in top condition.
If you’re opting to tackle the task yourself, our DIY end of lease cleaning guide is here to ensure a smooth and stress-free transition.
From the living room to the bathroom, we’ve got practical tips that will save you time and possibly money. Settle in, grab your cleaning supplies, and let’s make your move as seamless as possible!
Importance of End of Lease Cleaning
Ensuring your rental space is spotless at the end of a lease is more than just a courtesy; it’s often a requirement to secure your deposit refund and maintain a good rental history.
Deep cleaning your home before moving out shows respect for the next tenant and helps you leave on good terms with your landlord.
By investing a bit of time and effort into end of lease cleaning, you can ensure a seamless transition, avoid potential disputes over the state of the apartment, and make sure there are no last-minute deductions from your security deposit due to cleaning issues.
Essential Cleaning Supplies
To tackle end of lease cleaning Sydney effectively, you’ll need to stock up on the right supplies. Having a checklist of necessary cleaning products and tools can make the process more manageable and ensure you don’t miss any critical areas.
Cleaning products
Here is a list of basic cleaning products you should have:
- All-purpose cleaner: Ideal for surfaces in the kitchen and bathroom, and pretty much anywhere else.
- Disinfectant: To ensure areas like the bathroom and kitchen are not just clean but germ-free.
- Glass cleaner: For mirrors, windows, and any other glass surfaces.
- Carpet and upholstery cleaner: Essential for removing stains and odours from fabrics.
- Oven cleaner: A must-have to tackle tough grime typically found in ovens.
- Wood polish: To spruce up wooden furniture and fittings, leaving them shiny.
- Mold and mildew remover: It is critical for bathrooms to ensure tiles and grouting are pristine.
- Degreaser: Especially useful in the kitchen for cleaning stovetops and fan hoods.
Having a variety of specific products at your disposal can make your cleaning session more efficient and less tiresome.
Tools and equipment
For a truly deep clean, you need the right tools. Include these in your cleaning kit:
- Vacuum cleaner: A must-have for carpets and useful for hard floors.
- Mop and bucket: For thorough cleaning of non-carpeted areas.
- Broom and dustpan: Ideal for initial sweeping before mopping.
- Sponges and scrub brushes: Various shapes and sizes to tackle different surfaces.
- Microfiber cloths: Great for dusting and polishing without scratching surfaces.
- Protective gloves: To keep your hands safe from harsh chemicals.
- Duster with an extendable handle: Essential for reaching high corners and fixtures.
Armed with these tools, you can address nearly every part of your home, ensuring nothing is overlooked in your cleaning efforts, leading to a more efficient and stress-free move.
Room-by-Room Cleaning Guide
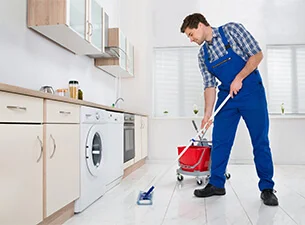
Kitchen
The kitchen often requires the most effort due to accumulated grease and food residues. Start by emptying all cabinets and shelves and wiping them down with a mild detergent. Next, tackle the appliances: clean the oven, including the racks and stovetop, using a degreasing agent.
Clear out the refrigerator, wipe it inside and out, and don’t forget to defrost the freezer. Scrub the sink and countertops, ensuring no food particles or stains remain. Lastly, sweep and mop the floor, paying special attention to areas beneath the appliances and around the cabinets.
Living Room
Begin with dusting all surfaces, including coffee tables, shelves, and entertainment centres. Use a microfiber cloth to avoid scratching any surfaces or spreading dust around. Vacuum the sofas and chairs, ideally with an upholstery attachment, to remove dust and crumbs better. Clean under the furniture and between cushions. Finish by sweeping or vacuuming the floor, followed by mopping if it’s not carpeted.
Bedrooms
Start by stripping the beds of all linens, which should be laundered. Dust all furniture, including bedside tables, dressers, and headboards. Wipe down mirrors and windows with a glass cleaner. Vacuum the entire floor, including under the bed and other furniture, where dust tends to accumulate. If there are any scuff marks on the walls, gently remove them with a sponge dipped in a mild soapy solution.
Bathroom
In the bathroom, begin by scrubbing the bathtub, shower walls, and floor with a bathroom cleaner designed for soap scum and mildew. Clean the toilet inside and out, and wipe down the outside of the toilet bowl and base. Clean the sink, faucets, and countertops with a disinfectant spray and cloth. Lastly, clean the mirrors, sweep the floor, and mop thoroughly.
Deep Cleaning Tips for Tricky Areas
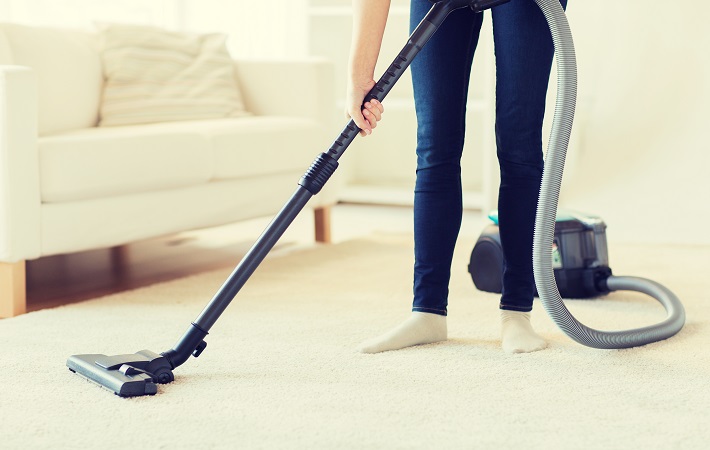
Carpets and rugs
Carpets and rugs can trap odours and dirt. Start by vacuuming thoroughly to remove any loose dirt. For stains, use a carpet cleaner or a mixture of vinegar and water to spot clean. For deep cleaning, consider renting a steam cleaner or hiring professional cleaners if the carpet is heavily soiled.
Windows and blinds
Windows and blinds often harbour dust and fingerprints. For the windows, use a glass cleaner and a squeegee for a streak-free finish. Dust the blinds with a microfiber cloth or a special duster, and if very dirty, wash them with soapy water, but make sure to dry them completely to avoid water spots.
Baseboards and corners
Baseboards and corners are often overlooked but can house a lot of dust and grime. Wipe down the baseboards with a damp cloth. For corners, use a vacuum with a crevice tool to remove dust, cobwebs, or any small debris. This can significantly freshen up the room and contribute to an overall clean appearance.
Handling Appliances and Fixtures
Cleaning appliances and fixtures properly can significantly enhance the look of your residence and ensure you pass your final inspection without a hitch. Here’s how to tackle some of the major appliances.
Refrigerator and Oven
Start with the refrigerator. First, unplug it to ensure safety. Remove all shelves and bins and wash them with warm, soapy water. Wipe the interior surfaces with a baking soda solution (mix four tablespoons of baking soda with one quart of water). This mixture is great for removing any lingering food odours. For the exterior, a gentle abrasive cleaner works well for removing tougher grime.
Light Fixtures and Ceiling Fans
Light fixtures should not be overlooked as they often collect a surprising amount of dust and bugs. Turn off the power at the circuit breaker box for safety. For glass fixtures, remove and wash them with soapy water. Dry thoroughly before replacing. For non-removable fixtures, use a microfiber cloth or a duster to clean the surfaces.
For ceiling fans, use a step ladder to reach them comfortably. You can slip a pillowcase over each blade to collect the dust as you wipe, which helps prevent it from falling onto the furniture below. Once dust is removed, wipe the blades with a damp cloth if needed.
Dealing with Stains and Odors
Ensuring that your rental space is free from stains and unpleasant odours is crucial for retrieving your full security deposit. Here are effective techniques you can use.
Stain Removal Techniques
- Carpets: Mix one part white vinegar with two parts water and apply it to the stain. Let it sit for 10-15 minutes, then blot with a clean cloth or sponge. For tougher stains, sprinkle baking soda on the stain, allow it to absorb, and then vacuum.
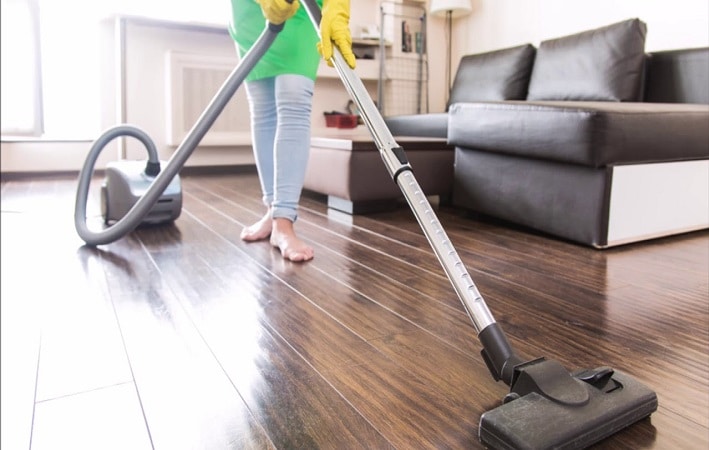
- Hardwood floors: For light stains, a solution of vinegar and warm water can work well. Apply it to the stain and rub gently with a soft cloth. For darker stains, you might need a professional wood cleaner.
- Walls: Make a paste of baking soda and water and gently rub on scuff marks or coloured stains. For more stubborn stains, a non-abrasive all-purpose cleaner should do the trick.
Deodorising the Space
Removing odours is as important as dealing with visible stains. Here’s how to freshen up every room:
- Open windows and doors to air out the space.
- Sprinkle baking soda on carpets and upholstery, let it sit overnight then vacuum it up. Baking soda absorbs odours naturally without damaging fabrics.
- Use white vinegar in a spray bottle to mist areas that seem particularly musty—the vinegar smell will dissipate quickly, leaving a cleaner scent.
- For kitchen and bathroom drains, pour down half a cup of baking soda followed by one cup of vinegar. This will not only clear odours but can help clear minor clogs.
This approach should leave your rental feeling fresh and renewed, ready for a thorough inspection.
Final Touches and Inspection Preparation
Decluttering and organising your space ensure a smoother cleaning process and make a good impression. Start by sorting through your belongings and decide what to keep, donate, or throw away.
This not only frees up space but also reduces the cleaning load. Once decluttered, organise the remaining items neatly. Proper organisation shows that the property has been well cared for, something landlords appreciate during the inspection.
Preparing for the Landlord’s Inspection
To prepare for your landlord’s inspection, create a checklist of all areas that need attention based on your lease agreement. Typically, landlords scrutinise areas like the kitchen and bathroom and any installations like light fixtures and appliances.
Make sure these are spotless and functioning well. Document the condition of the apartment before the landlord’s arrival with photos; this can provide evidence in case of disputes over the security deposit.
Additionally, scheduling the inspection during daylight hours can help illuminate areas that might not be as noticeable under artificial lighting, ensuring that all your hard work is clearly visible.
Conclusion
Moving out doesn’t have to be a migraine in the making. With a pinch of preparation and a dollop of elbow grease, you can achieve professional-level cleanliness without the professional price tag.
By following our comprehensive DIY end-of-lease cleaning guide, you ensured that every nook and cranny shone, increasing the likelihood of getting your full deposit back and leaving the property in spectacular condition for its next residents.
Remember, the key ingredients for a seamless transition are organisation, thoroughness, and a bit of patience.
However, if the thought of tackling the cleaning process yourself feels overwhelming, why not consider hiring a professional end of lease cleaning Sydney service from Clean To Shine? With our expertise, you can ensure a hassle-free move-out experience while still enjoying the benefits of a sparkling clean space.